Master the Damper Pedal in 4 Steps
Become an expert with your damper pedal.

Disclaimer: This post contains an affiliate link. If you click through and make a purchase, I’ll be compensated at no cost to you. I only recommend products I use myself.
Using the damper pedal on a piano can significantly enhance your music. It can enhance the tone of what you’re playing with the layer of resonance it adds. It can allow you to play choppy passages legato (smoothly) that otherwise would be impossible with finger legato alone. It can help you make bigger distinctions with your phrase endings or section endings. It can help you provide contrast within a piece or passage. These are just a few benefits- the list is quite long.
Yet many of my late-beginning/early elementary students would rather have a root canal than try to add pedals in their pieces! At first, I found this astounding - why not add the pedal, when it has the potential to add so much to your sound? However, when I sit back and think about it, it makes sense; as students’ pieces increase in difficulty, the thought of bringing foot motion into the party can seem daunting.
But adding the pedal doesn’t have to be scary! Just like any skill (learning to read, learning to ride a bike, learning to drive), it just takes a bit of breaking down and a bit of disciplined practice. Follow these four steps, and try a little pedal work every day in your pieces, and you’ll be a pedal master in no time.
Step 1- Check your posture
Before actually using the pedal, check your pedal posture. Yes, I’m going to sound like your mother for a moment: “Check your posture.” Whenever we sit at the piano to play (with or without the pedal), we should always sit in the middle of the bench, aligned with Middle C. However, be sure to sit on the front two-thirds of the bench, not the entire bench. Sitting in this position allows you to lean forward into the piano, making it easier to reach the damper pedal and move your foot up and down with ease.
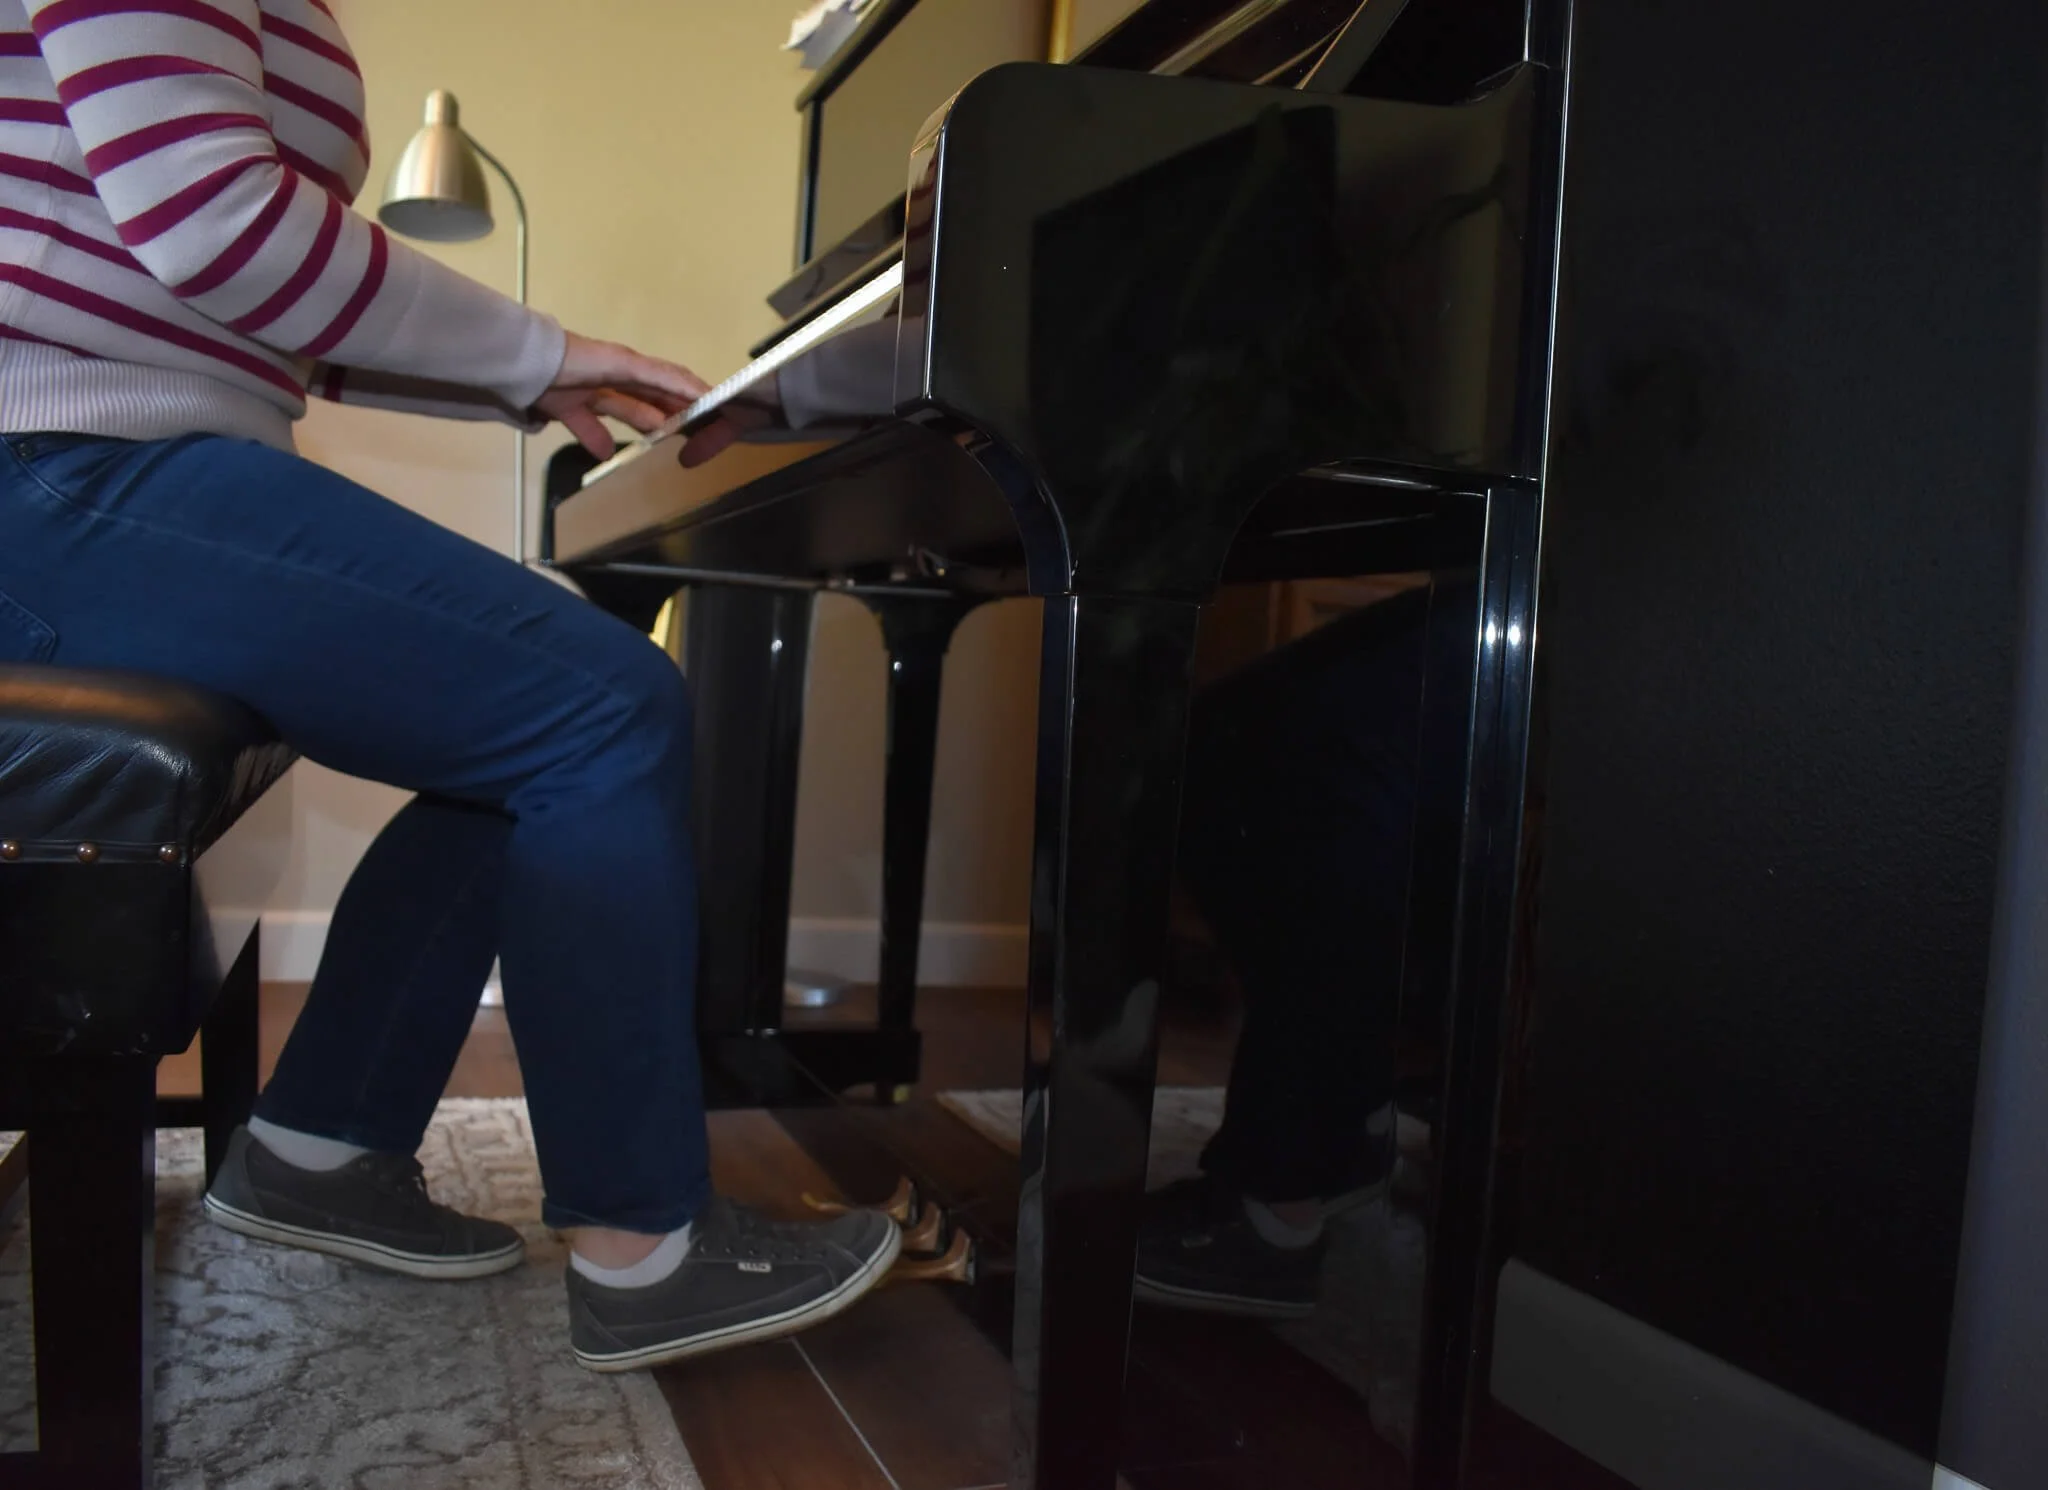
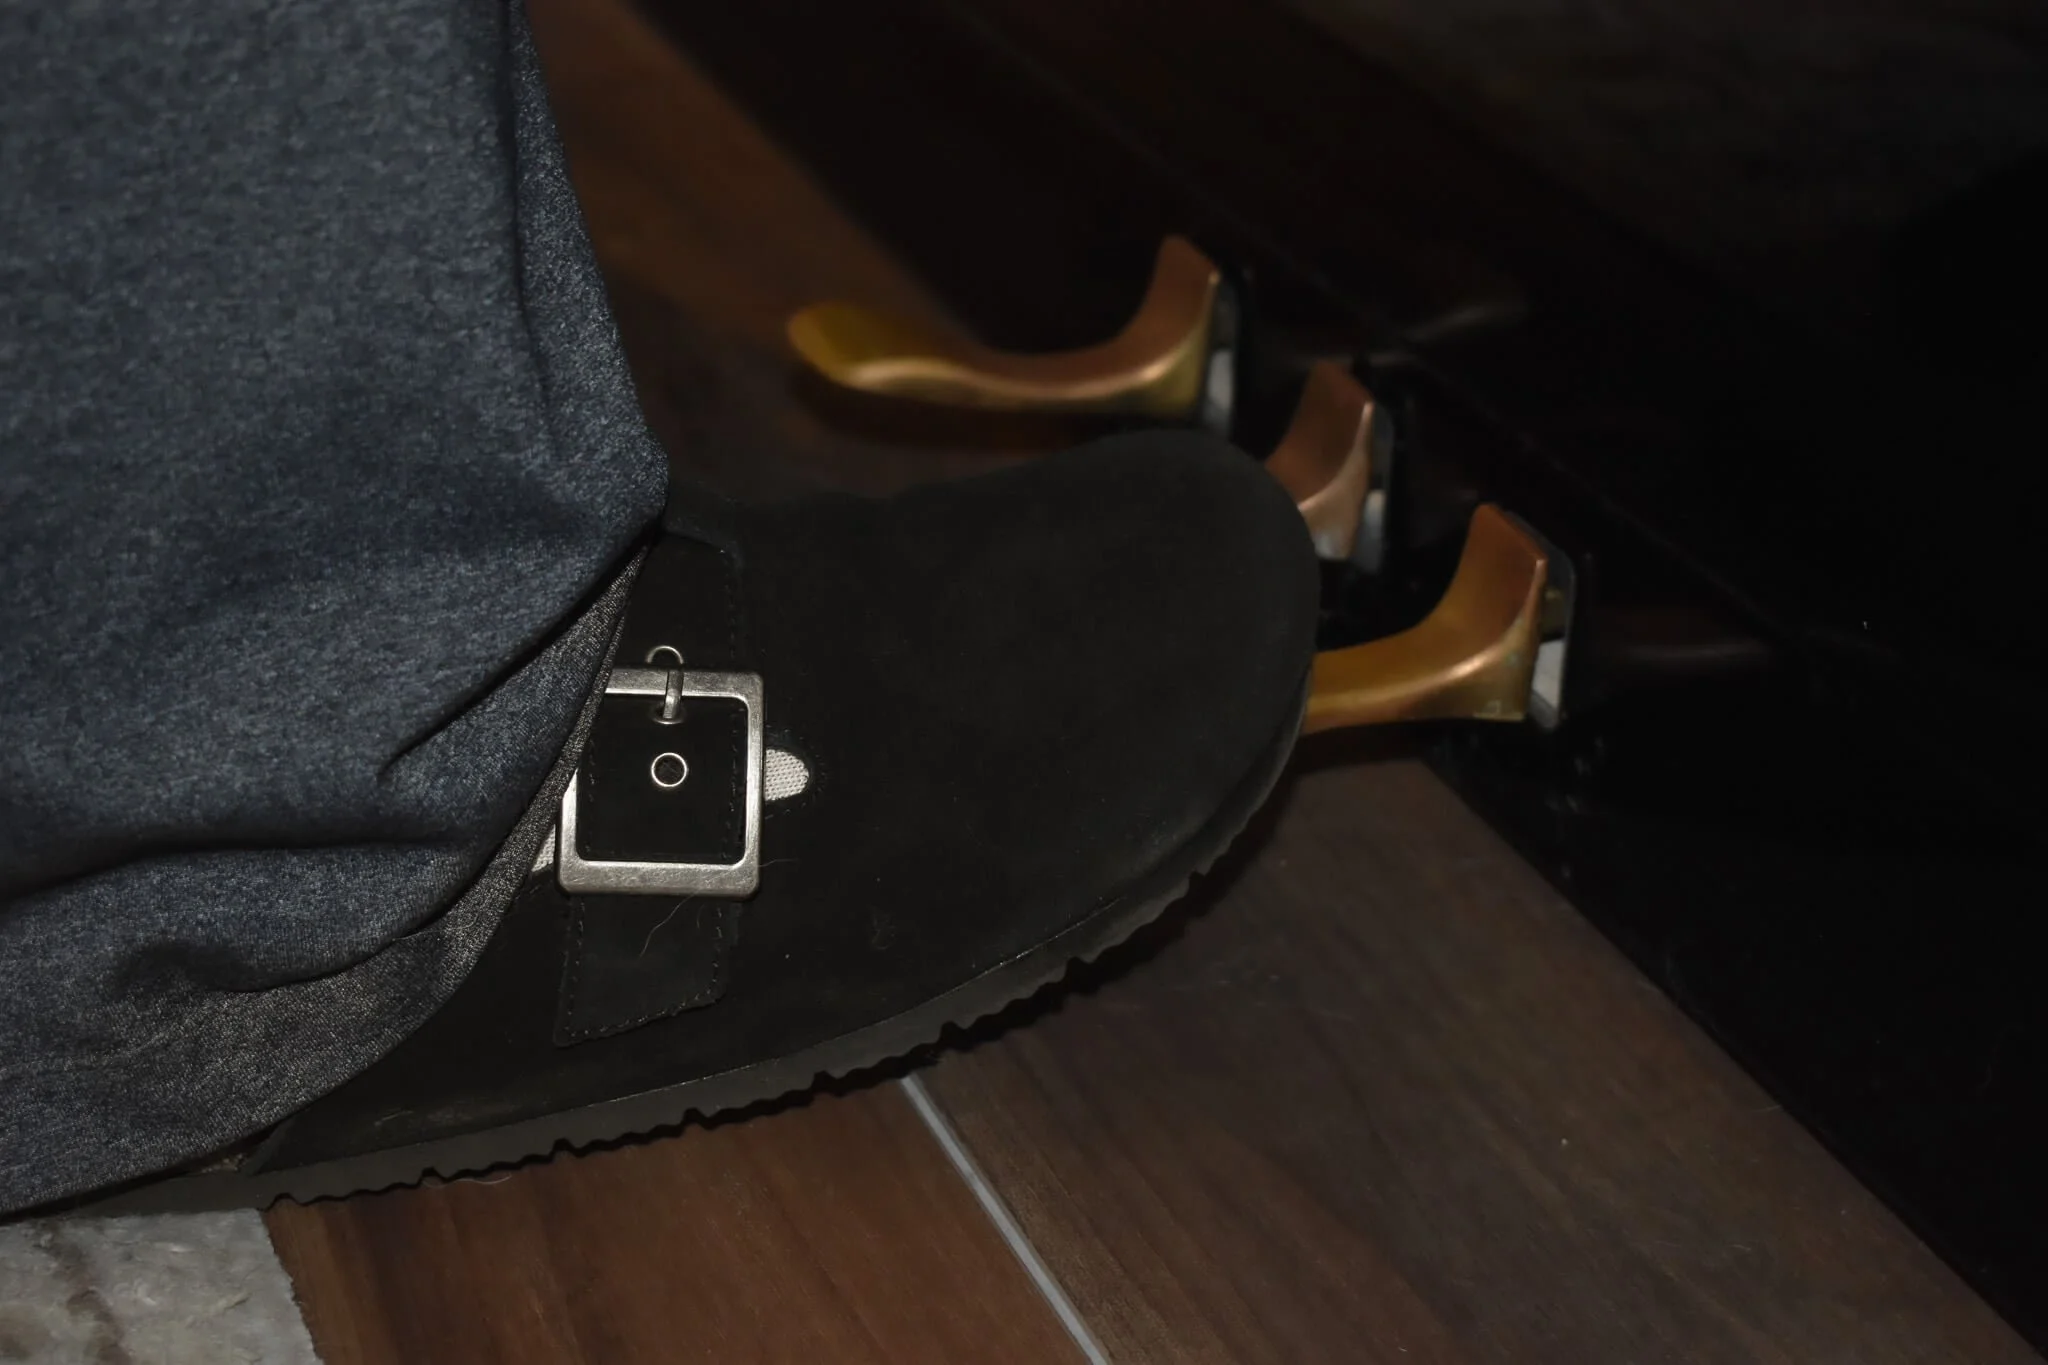
Next, let’s look at your foot placement. We only use our right foot when using the damper pedal. Our left foot serves as a stabilizing force on the ground, or (occasionally) to engage our other pedals or page-turning foot switch. Your right foot should only cover 60% of the pedal, not 100%, to give you more control with your pedal changes. And your right heel should always be on the ground while pedaling; this helps you conserve your strength (lifting your toes takes much less effort than lifting your entire leg!) as well as provides you with more stability.
Shorter pianists will often try to scoot the bench in closer when the pedal is required. However, they need to do the opposite: scoot the bench slightly farther away from the piano and sit closer to the edge of the front side of the bench (on the front 15-25% of the bench, rather than the default 50-60%).
For very small pianists, consider purchasing a pedal extender, which raises the pedal to a more accessible height for those with shorter legs. Here is a link to a pedal extender I often recommend for my smaller students.
Step 2- Experiment
Before getting technical with the precise addition of the damper pedal in pieces, it’s essential to understand what adding the pedal does to your music in terms of its aural impact. The best way to do this is simply by doing it. Liberally. Everywhere. Even in pieces you think would sound best without it.
I had a charming beginning student last year who insisted that everything sounds better with the damper pedal held down, without clearing it or changing it, for the entire lesson. She would humor me and try her songs or scales without the pedal when asked; however, when she reached the end of the task, she would always request to try the same thing again with the pedal.
As her pieces became more complicated, however, she began to crave pedal changes and even started realizing that some passages, or even entire pieces, sounded better without the damper pedal.
What do you notice when you hold it down for an entire song? Sometimes this works, but other times, especially with pieces that involve a lot of scalar passages, low tones, and/or chord changes, this can result in a big, muddy mess!
What textures seem better with the pedal? What textures sound worse? And does using the damper pedal have to be an “all-or-nothing” thing? If not, how long can you keep it down in a particular piece before it makes sense to change or lift it? Or, what if you just added it at the end?
Have fun during the experimenting phase, and try every combination you can think of with a variety of pieces. This exploration is an essential step to developing your ear and making you more sensitive to the complexity the damper pedal can add to your music.
Step 3- Discontinuous Pedaling
Now let’s get a little more technical and precise with our pedal usage. Discontinuous pedal changes are simply putting the pedal down for a measure, passage, or section, then lifting it. Think of it like a light switch- you turn it on for a bit, then you turn it off. Discontinuous pedal markings are indicated by a line under the bass clef stave; where the line starts is where you push the pedal down. Where the line comes up is where you lift the pedal.

This is the first line of a pedal study piece I wrote called “Bells.” The short line down here indicates exactly where to push the pedal down. The short line up here at the end of the horizontal line shows where to lift it."
Try not to overwhelm yourself when trying to layer on more complex pedal changes. Spend a few days getting the notes down before layering on the addition of the pedal. But don’t wait too long to add it- yes, it will make it harder to play the piece initially, but take it slow, be patient with yourself, and hit the rewind button over and over on the spots you find especially tricky to get that pedal down while playing.
Following the editors’ suggestions in your music is a great place to start adding discontinuous pedal changes. If you have a score edited by a pianist with some skill, you can trust that they are asking you to add the pedal in appropriate spots. But do keep this truth in mind: as you advance, it becomes expected that you will know where it’s relevant to add pedal, and where it isn’t. Advanced piano music rarely includes pedal markings in the score, but rather, the pianist’s pedaling choices become subjective. Pedaling in advanced piano playing can become a subtle, creative tool for self-expression.
But, before you get to that stage, it’s best to understand what is considered the “norm” for adding pedal to passages, and where it enhances your piece instead of muddying it.
Once you get reasonably comfortable adding discontinuous pedaling to a piece as indicated by the composer or editor, it’s time for you to get your pencil out and start adding it in yourself. Try adding it under the last note of a piece, in measures where the chords remain the same, in slower passages, or dramatic moments. What do you think- do you like it? Or no?
Adding the pedal can be a dramatic statement; if you’re playing a piece mostly without the damper pedal, it can be a bit jarring to have a pedaled passage suddenly. But don’t throw the baby out with the bathwater! Before scrapping the damper pedal in that piece entirely, try the opposite: find more passages you can add the pedal to within the piece instead. Adding a scattering of dampered passages throughout will help the listener’s ear get accustomed to the pedal, and will make your original pedaled passage blend in better.
Step 4- Continuous Pedaling
Once you’re reasonably comfortable with discontinuous pedaling techniques, it’s time to add continuous pedaling to your toolbox. Continuous pedaling is a technique that involves quickly changing the pedal while still holding the notes down with your fingers. Continuous pedaling creates a seamless clearing of the pedal without losing the overall pedal effect. Rather than an “all or nothing” type of pedalling, this allows you to have the best of both- a smooth, rich pedalled sound without the blur of overpedaling.

This is another close-up taken from the pedal study piece I wrote, “Bells.” The triangles indicate a quick "up-down" clearing of the pedal while you are holding the notes down with your fingers.
Learning how to pedal in this way will help you sound like a pro. It is the most complex type of pedaling covered in this article, however, so start slowly and be patient! Let me break it down:
Start with your damper pedal down.
Play a whole note in your left hand, somewhere below middle C.
Play another whole note (perhaps a note just a step below your 1st. Don’t get too tricky yet). As soon as you can manage, lift your pedal and put it back down.
Then play another whole note. Again, change the pedal before lifting the note.
Once this is easy, switch the length of the notes you’re playing in your left hand to half notes.
Once it’s easy to do this with half notes, try quarter notes.
Now, try this out in a song. Need inspiration? Click here for a link to the PDF (free!) of my easy pedal study piece, Bells.
What can make continuous pedaling difficult at first is the coordination of getting your toe up and down while you’re still holding the note down on the piano. If you release the note before your foot is back down, it will result in a clipped, abrupt stop to your note. If you hear this, it means you need to get your foot down quicker, hold your note out slightly longer, or both.
And remember, we’re not tapping our foot to the beat with this motion! The foot motion will occur slightly after the beat when done correctly.
Review and Wrap Up
So there you have it, four steps to damper pedal mastery! Let’s review:
-Start with your body and foot placement. Sit on the front half of your bench. Place your left foot squarely on the floor, and your right toe on the damper pedal, right heel resting on the ground.
-Next, experiment. Add it to any, and all, of your playing, from pieces to scales to improvisation and composition. Notice where it enhances. Notice where it becomes too much of a good thing. Don’t worry about “should I?” Instead, focus on “could I”?
-Then, get a bit more technical and a bit more disciplined. Find scores that initially require discontinuous pedaling. Be on the lookout for places in your music where a dab of pedal could make that moment pop- try it a couple of times, and if you like the sound of it, write it in your score so you remember to keep adding it when you get to that passage.
-When you’re ready for a more challenging experience, try continuous pedaling. Practice the continuous pedal technique using simple scales and chords before working it into a song.
Don’t be afraid to add your damper pedal! Think of it instead as upgrading your playing. Similar to getting a new, fancier car or computer, it will take some time to get used to. However, the result will undoubtedly take your playing to the next level. If you become overwhelmed, try slowing down and practicing the pedal changes with your left hand alone before reintroducing the right hand. Eventually, pedaling will happen by reflex, and you’ll wonder how you could play without it.
You will be so glad you took the time to get comfortable with this!
Have fun. Let me know how it goes. Shannon
Resources:
Free downloadable PDF- Bells. A perfect template for trying out different types of damper pedal techniques
YouTube Short: What do the pedals do on the piano?